Documentation
Menu Setup
v1.0.1
Setup Menu
Setting up menus in the istory theme allows you to create custom navigation for your users. Follow these steps to create and configure menus:
Step 1: Navigate to Menus
First, you need to access the WordPress menu management screen.
- Log in to your WordPress dashboard.
- In the left-hand sidebar, go to Appearance.
- Click on Menus.
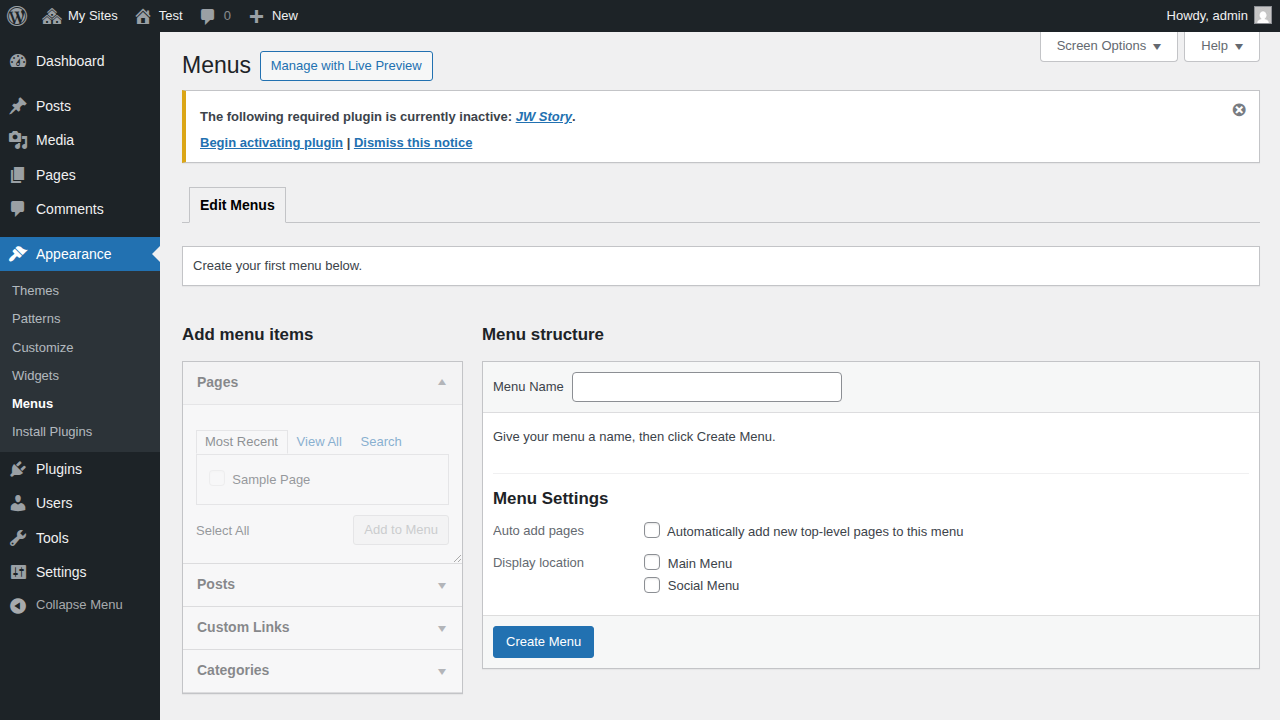
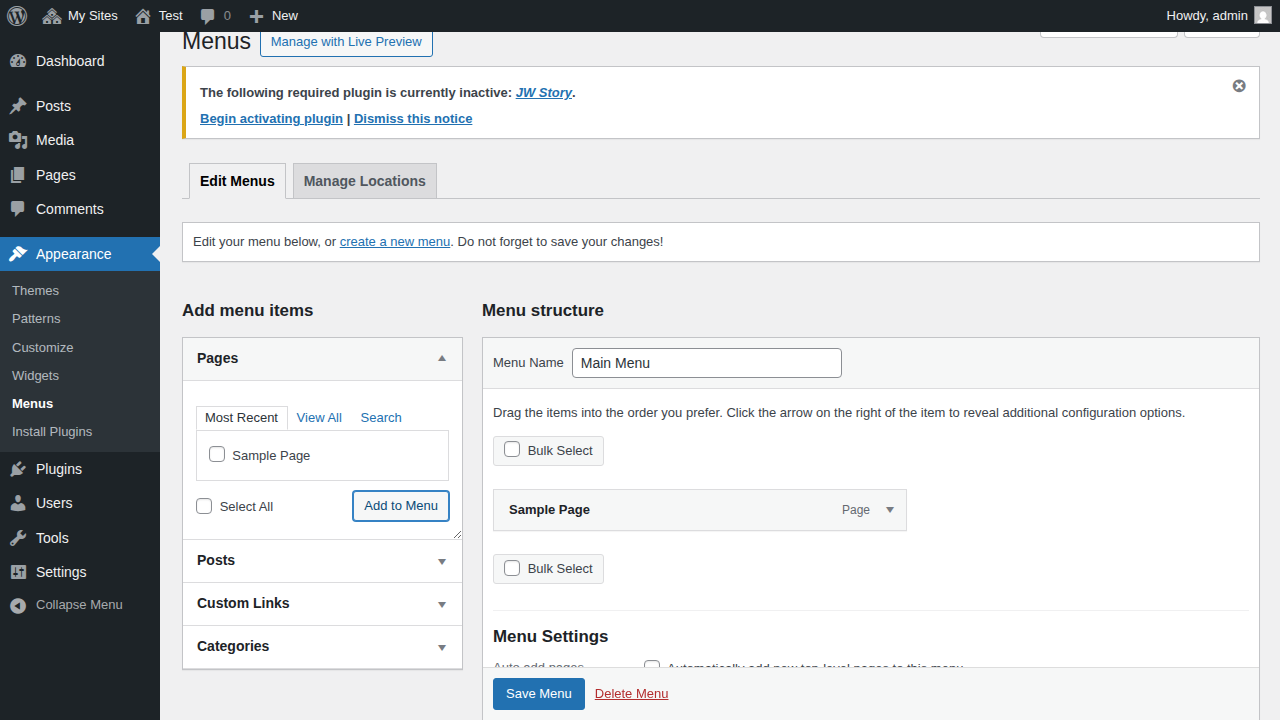
Step 2: Create a Menu and Add Items
Now, you can create a new menu and add pages or links to it.
- Enter a name for your menu in the Menu Name field (e.g., "Main Menu").
- Click the Create Menu button.
- Once the menu is created, use the panels on the left (Pages, Posts, Custom Links, Categories) to select the items you want to add.
- Click Add to Menu to move them into your menu structure.
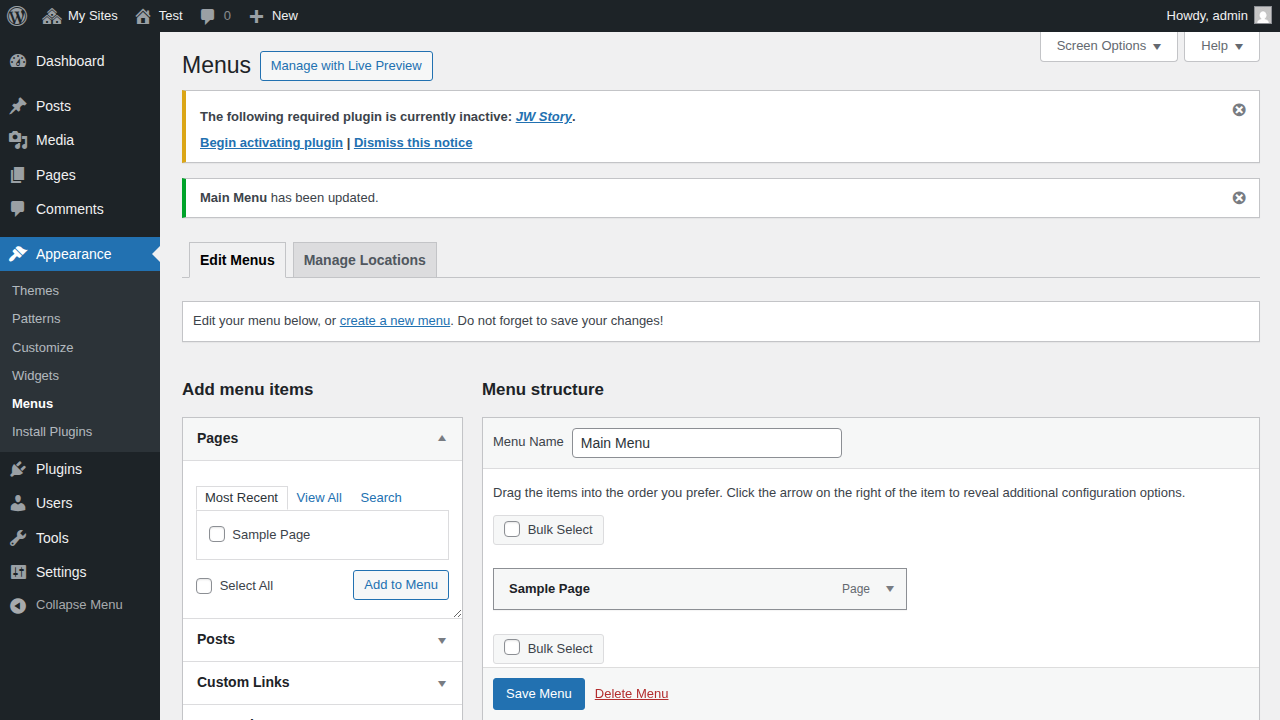
Step 3: Select Display Location
Finally, assign your menu to a specific location in the istory theme.
- Scroll down to the Menu Settings section at the bottom of the menu editor.
- Check the box for the Display location where you want this menu to appear. The istory theme supports:
- Main Menu: The primary navigation menu.
- Social Menu: A menu for social media links, typically displayed in the footer.
- Click the Save Menu button to apply your changes.