Documentation
Installation
v1.0.1
Theme Installation
Installing the istory theme via the WordPress CMS is a straightforward process. Follow these steps to upload and activate the theme on your website:
Prerequisites
Before you begin, ensure you have the following:
- Theme Zip File: The istory theme downloaded as a
.zipfile. Do not unzip this file; WordPress requires it in this format. - Administrator Access: You must be logged into your WordPress dashboard with Administrator privileges.
Installation Steps
- Log in to WordPress: Access your WordPress admin dashboard (usually located at
yourdomain.com/wp-admin). - Navigate to Themes: In the left-hand menu, go to Appearance and click on Themes.

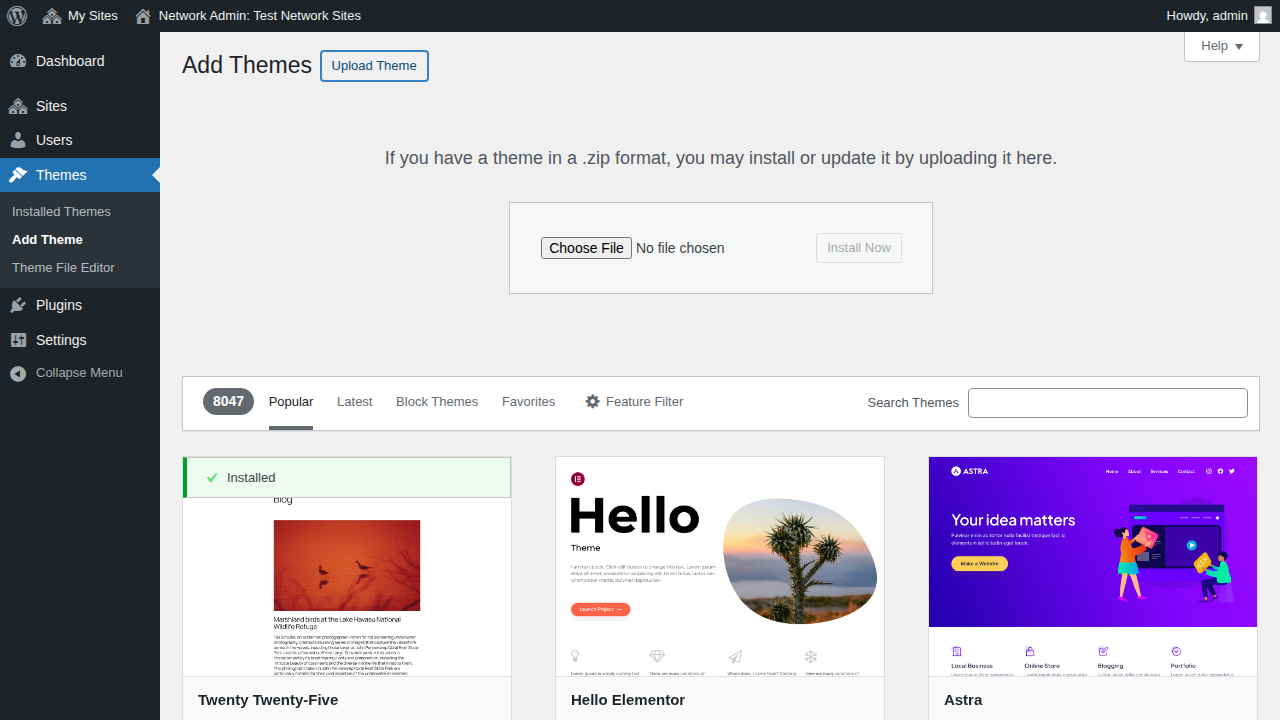
- Add New Theme: Click the Add New Theme button located at the top of the Themes page.
- Upload Theme: Click the Upload Theme button, also located near the top of the page.
- Select the File: Click the Choose File (or "Browse") button and locate the istory
.zipfile on your computer. Select the file and click Open. - Install: Click the Install Now button to begin the upload and installation process. WordPress will unpack the zip file and install the theme files.
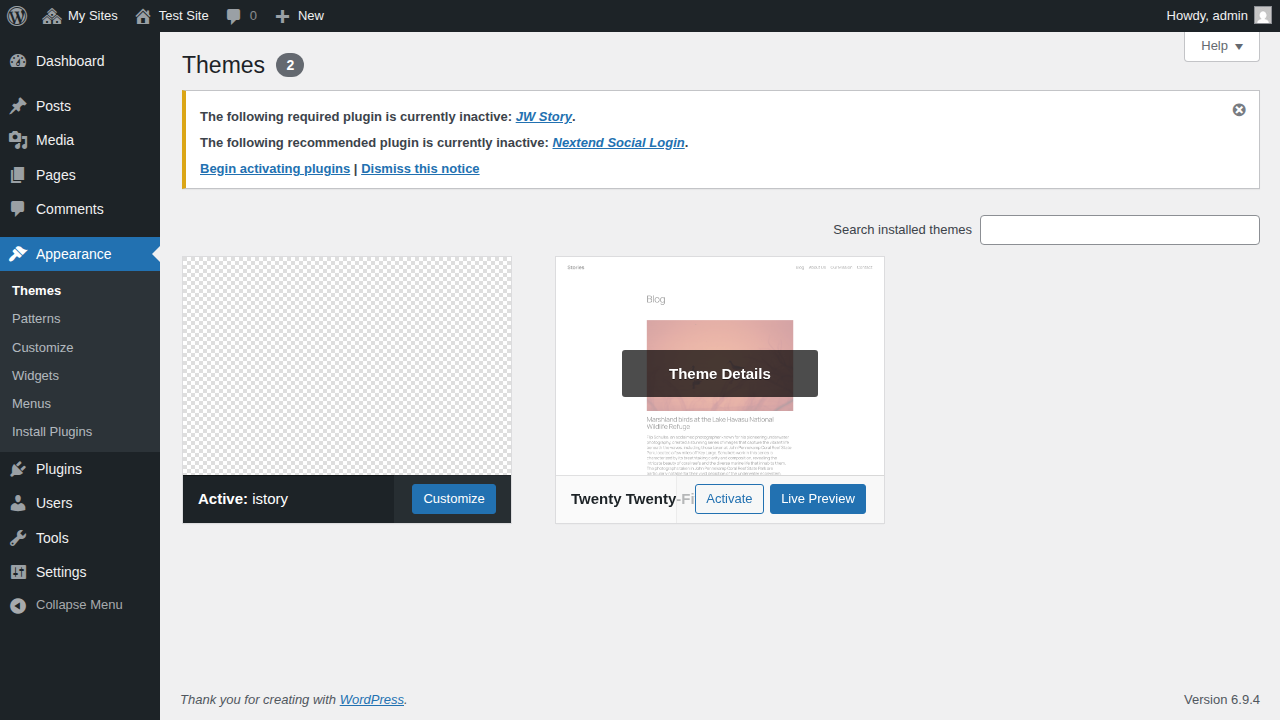
- Activate the Theme: Once the installation is complete, you will see a success message. Click the Activate link to make istory the active theme for your site.

Next Steps
After activating the theme, you may be prompted to install recommended or required plugins. Be sure to follow the on-screen instructions to get the full functionality of the istory theme.