Documentation
Update
v1.0.1
Theme Update
Updating the istory theme via the WordPress CMS is a straightforward process. Follow these steps to upload and replace the existing theme on your website:
Prerequisites
Before you begin, ensure you have the following:
- New Theme Zip File: The new version of the istory theme downloaded as a
.zipfile. Do not unzip this file; WordPress requires it in this format. - Administrator Access: You must be logged into your WordPress dashboard with Administrator privileges.
Update Steps
- Log in to WordPress: Access your WordPress admin dashboard (usually located at
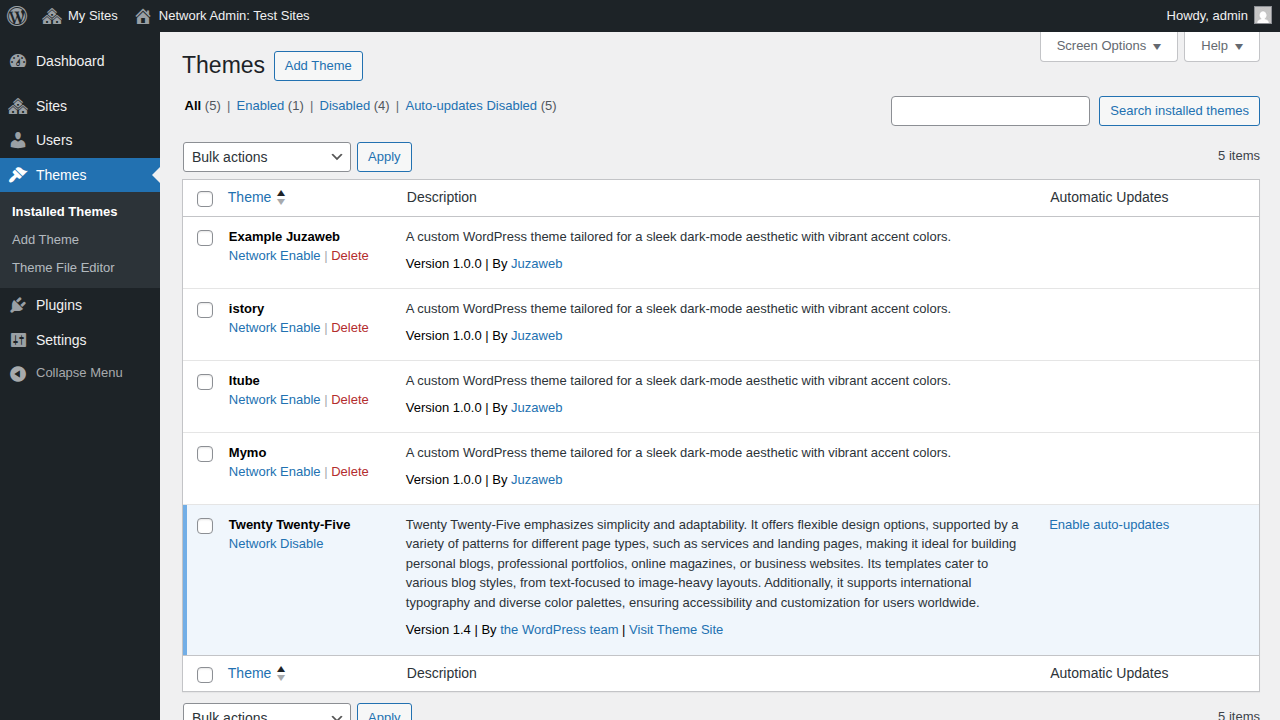
yourdomain.com/wp-admin). - Navigate to Themes: In the left-hand menu, go to Appearance and click on Themes.

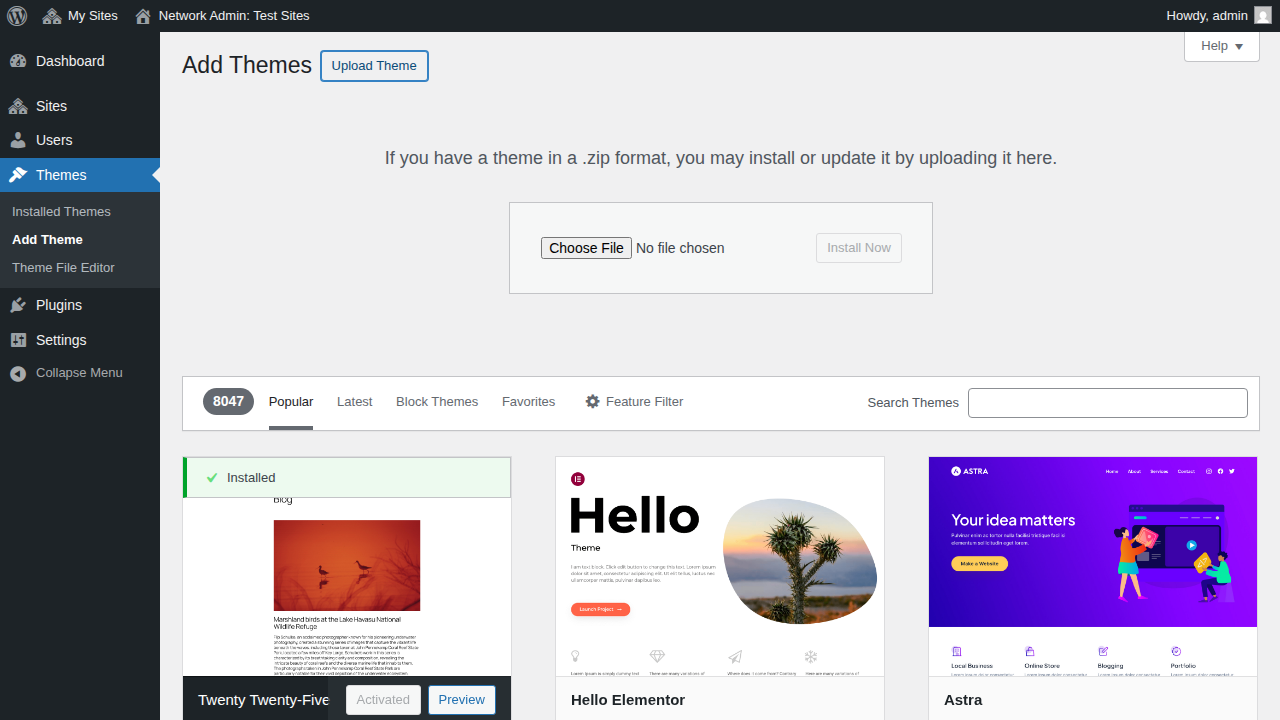
- Add New Theme: Click the Add New Theme button located at the top of the Themes page.
- Upload Theme: Click the Upload Theme button, also located near the top of the page.
- Select the File: Click the Choose File (or "Browse") button and locate the new istory
.zipfile on your computer. Select the file and click Install Now. - Replace Current Version: WordPress will unpack the zip file and detect that the theme is already installed. Click the Replace current with uploaded button to update the theme files.
- Complete: Once the installation is complete, you will see a success message indicating the theme has been successfully updated.