Documentation
Menu Setup
v1.0.0
Setup Menu
Setting up menus in the Share Pay theme allows you to create custom navigation for your users. Follow these steps to create and configure menus:
Step 1: Navigate to Menus
First, you need to access the WordPress menu management screen.
- Log in to your WordPress dashboard.
- In the left-hand sidebar, go to Appearance.
- Click on Menus.
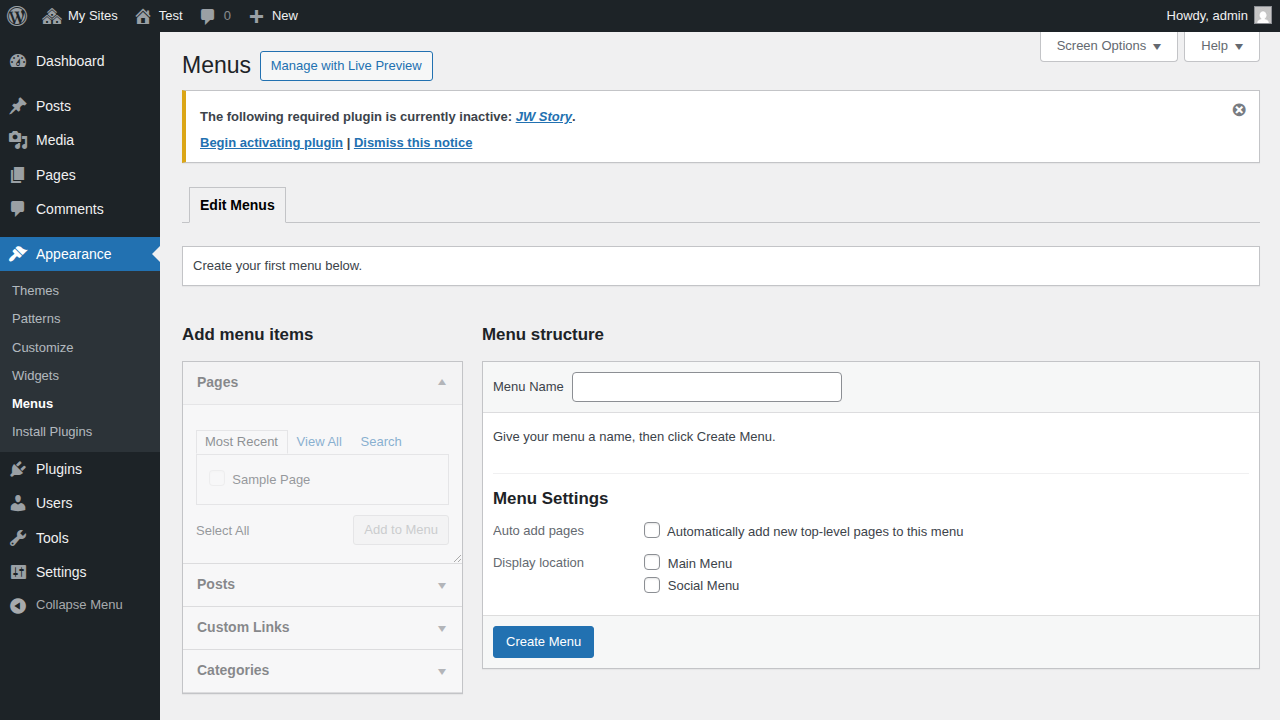
Step 2: Create a Menu and Add Items
Now, you can create a new menu and add pages or links to it.
- Enter a name for your menu in the Menu Name field (e.g., "Main Menu").
- Click the Create Menu button.
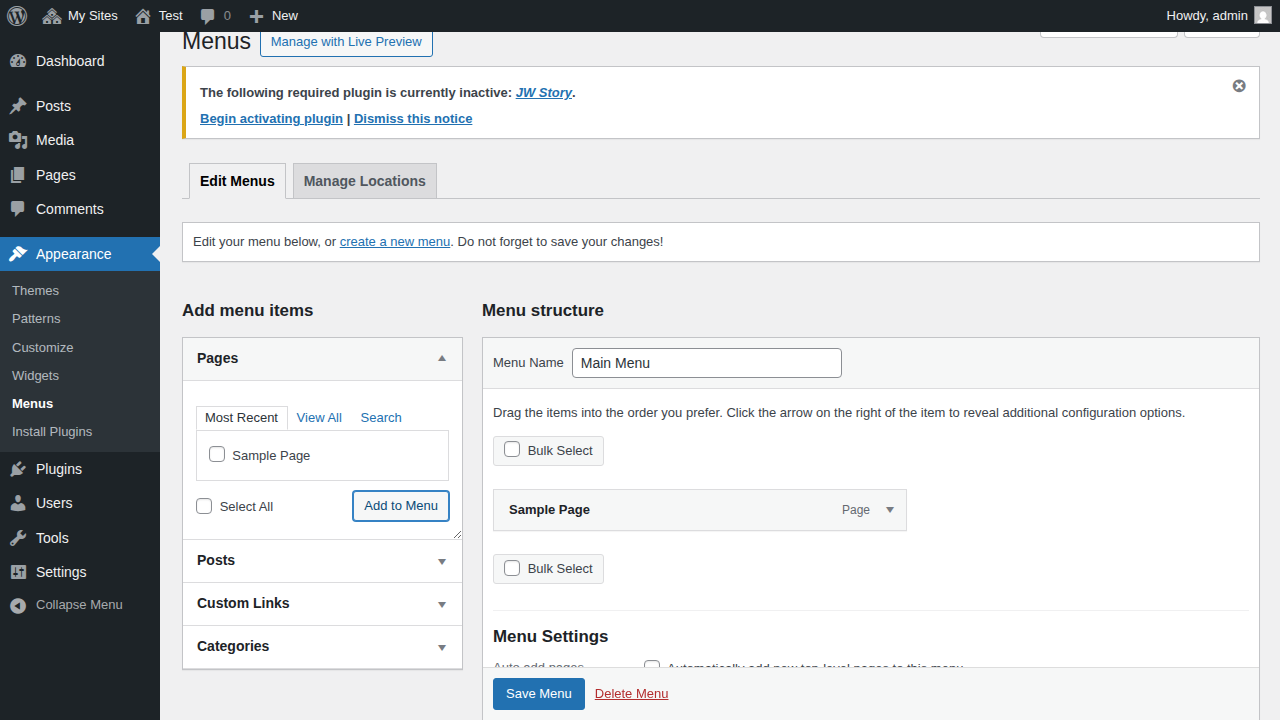
- Once the menu is created, use the panels on the left (Pages, Posts, Custom Links, Categories) to select the items you want to add.
- Click Add to Menu to move them into your menu structure.
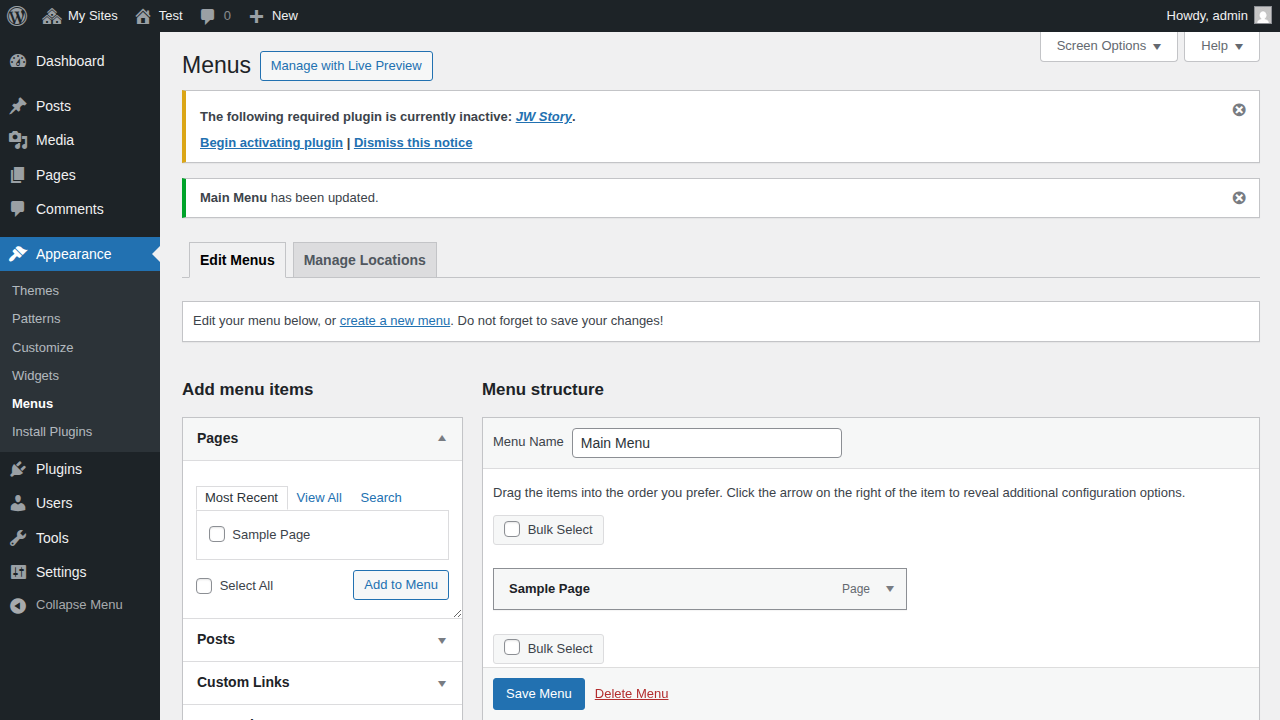
Step 3: Select Display Location
Finally, assign your menu to a specific location in the Share Pay theme.
- Scroll down to the Menu Settings section at the bottom of the menu editor.
- Check the box for the Display location where you want this menu to appear. The Share Pay theme supports:
- Main Menu: The primary navigation menu.
- Footer Menu: A menu for footer navigation.
- Click the Save Menu button to apply your changes.